Build a Kit – Local Maps – Week 14

Build a kit Local Maps week 14

When I first saw local maps on the list of preparedness items, I thought why in the world would I need that? I have lived in my local area for some time and already know the streets and can easily navigate around with no map at all.

But then I remembered the stories I heard from other public works professionals who responded to disasters, especially tornadoes. They said so many trees and other features including street signs are often impacted that when you show up in the area, you have no idea where you are – everything is gone.   So a paper map would help me to at least navigate through streets even if well known features are no longer there to guide me.

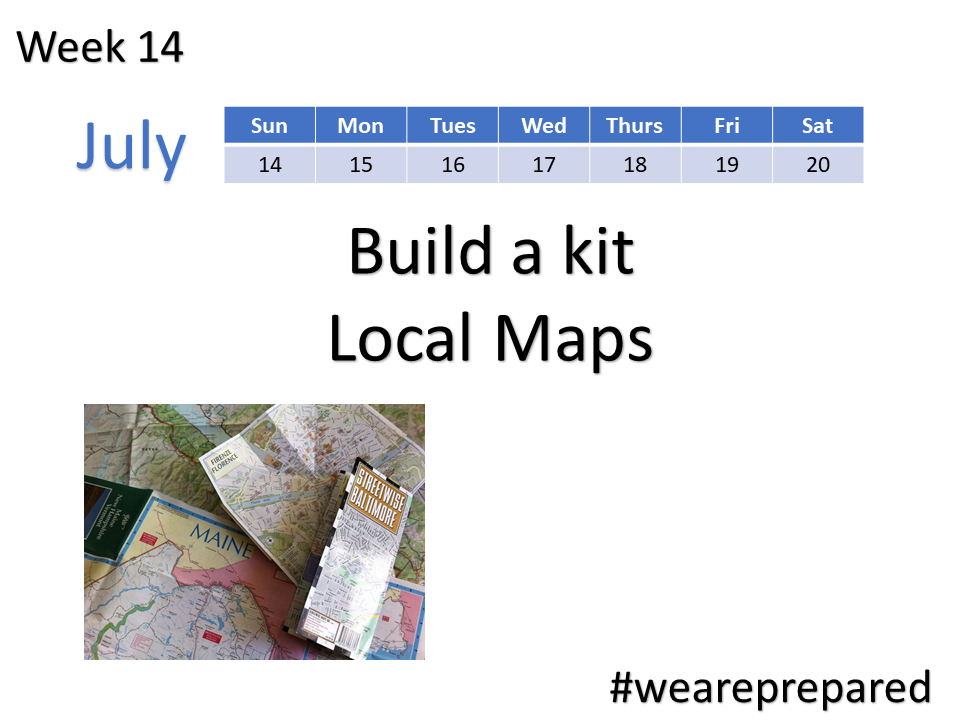
The other idea I found online is to use that local map to create a Resiliency Map. This is a paper map which has specific places identified that might help me after a disaster – things like gas stations, hospitals, hazardous chemical sites, police or fire call boxes, cisterns or other water sources, and schools or other sites that are important to my family. The idea is to print out a map from Open Street Map or another online source and draw on or use stickers to mark the specific types of places mentioned above.

Several people I know seem to also believe they would not need something like a paper map because of the maps on their phones. But during a disaster it is important to not rely on Internet or cell service because it might not be available. I know a paper map seems so old school now that we are all so reliant on our phones, but in a disaster it might be all we have.

We have a State of Illinois map so I’ll throw one of those in the kit. And I will print out an online map of my area and add important sites to make it a resiliency map that can also go into the kit.


As a side note, throughout this series of posts about getting prepared, I may mention certain products, services, agencies, etc. At no time is it my intention to promote a specific product or service or agency. Each is mentioned only for informational purposes.  Of course as a government employee, I do receive a salary from the government for the time I work on my job which by the way is not affiliated with this site, but I don’t receive any compensation from any commercial entities I mention or include in these posts.
Share

Build a Kit – Manual Can Opener – Week 13

Build a kit - manual can opener - week 13

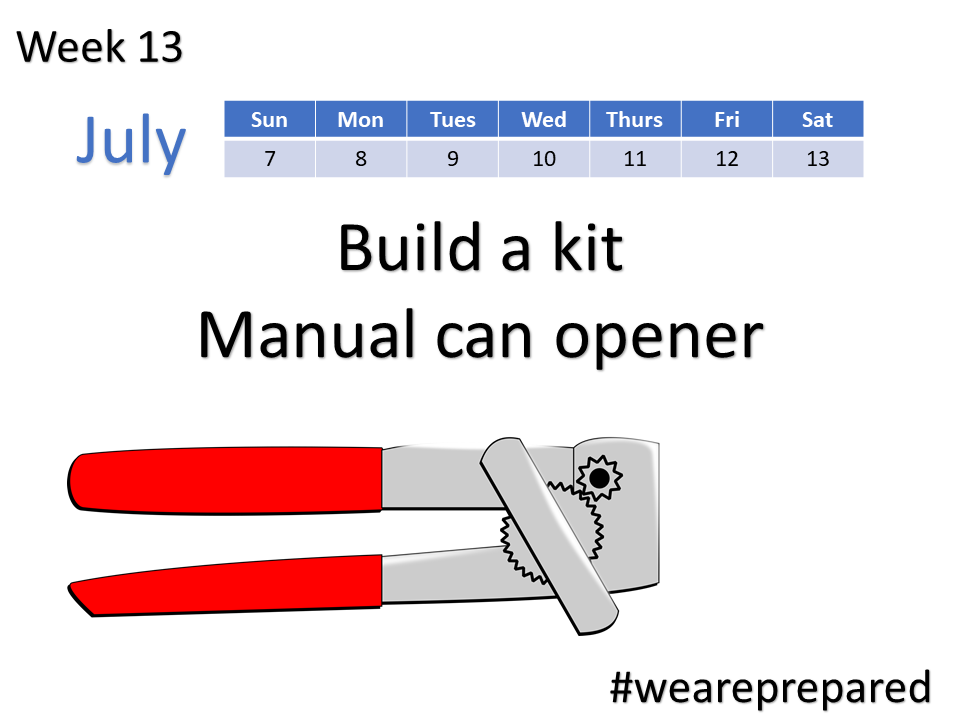
This week we add something I think would come in handy for even a short power outage – a manual can opener. Frankly I find it helpful even during those times when for some reason the electric can opener we have isn’t cooperating with me and the can. I will keep trying a few times and eventually just give up and use the manual one.

Because I am definitely not a manual can opener connaisseur, I looked around online for some advice and found a recent article on Amazon.com appropriately called “Best Can Opener.” It seems to showcase some nice looking openers at reasonable prices.

As I mentioned we already have a manual can opener, but since we need that one for the kitchen, we will be buying a different one for our kit.


As a side note, throughout this series of posts about getting prepared, I may mention certain products, services, agencies, etc. At no time is it my intention to promote a specific product or service or agency. Each is mentioned only for informational purposes.  Of course as a government employee, I do receive a salary from the government for the time I work on my job which by the way is not affiliated with this site, but I don’t receive any compensation from any commercial entities I mention or include in these posts.


Share

Build a Kit – Wrench or Pliers – Week 12

Build a kit - wrench or pliers

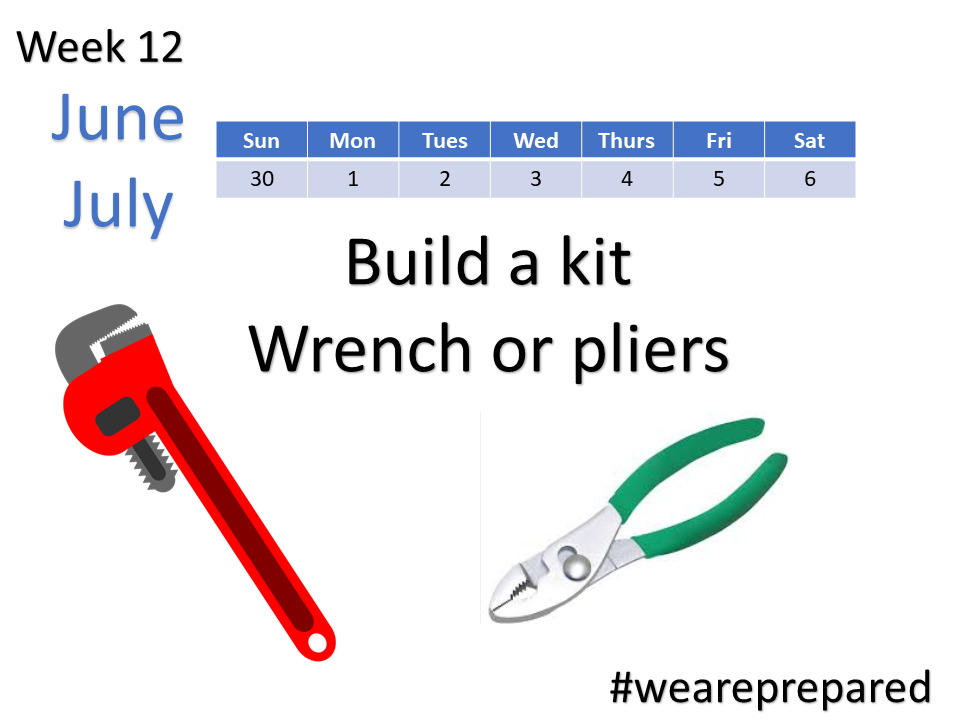
Disaster or not, it’s always helpful to have a good wrench or pliers handy. However, there are so many types, it might be difficult to choose what would be best for our kit.

Pliers

Below are common features of pliers to choose between:

Fixed vs adjustable – fixed pliers only open to a set width while adjustable ones allow you to set a variety of widths.

Long, short, or curved noses – the type of nose will allow you to work in different size areas. For example, when I am doing electrical work I like to use need nose pliers. These have a long nose which makes it a lot easier to twist the electric wire in small areas.

Insulated vs non-insulated handles – insulated handles are helpful if you are doing electrical work.

Cutting edge vs no cutting edge – pliers with a cutting edge allow you to cut wire. This can be used for either electrical work or for other general uses involving tie wire.

The different types of pliers include the following:

  • Tongue and Groove or Channel
  • Crimper/Stripper
  • Cutting
  • Electrical Pliers
  • Trades Specialty
  • Locking
  • Needle Nose
  • Slip-Joint
  • Wire strippers

You can check out this link, Types of Pliers, at the Home Depot site to see photos of them and get more information about each type.

Wrench

Like pliers, there are many different types of wrenches. Some are designed for working with metric sized fasteners while others are for English sizes. Below are some of the more common types available:

Adjustable wrench – these can be opened or closed to adjust to different fastener sizes.

Combination – these some in specific sizes. Because of this, kits of combination wrenches of many sizes are a popular and common item.

Open-End Wrench – like the combination wrench, these come in specific sizes and in kits. However this type will have open ends rather than one open and one closed.

Ratchet Wrench – these are also similar to the combination wrench in that they come in specific sizes. The difference is one end will allow for tightening or loosening a fastener in tight areas.

Pipe Wrench – this type is often used for plumbing and is typically more robust and heavy than the types above. It has a large jaw that can be adjusted to fit different size pipes.

Hex Key / Allen Wrench – this wrench looks more like a narrow piece of metal with a cross section designed to fit inside the head of a fastener rather than around it like the types listed above.

You can check out the Lowe’s Wrench Buying Guide if you are interested in seeing the different types and getting more information about each.

We have many types of pliers and wrenches lying in drawers all over the house. So rather than buy a new one, I’m going to grab one from a drawer and put it in our kit. If we have enough extra I’ll probably put more than one type in the kit.


As a side note, throughout this series of posts about getting prepared, I may mention certain products, services, agencies, etc. At no time is it my intention to promote a specific product or service or agency. Each is mentioned only for informational purposes.  Of course as a government employee, I do receive a salary from the government for the time I work on my job, but I don’t receive any compensation from any commercial entities I mention or include in these posts.
Share

Build a kit – Garbage Bags – Week 11

Build a Kit - Garbage bags - week 11

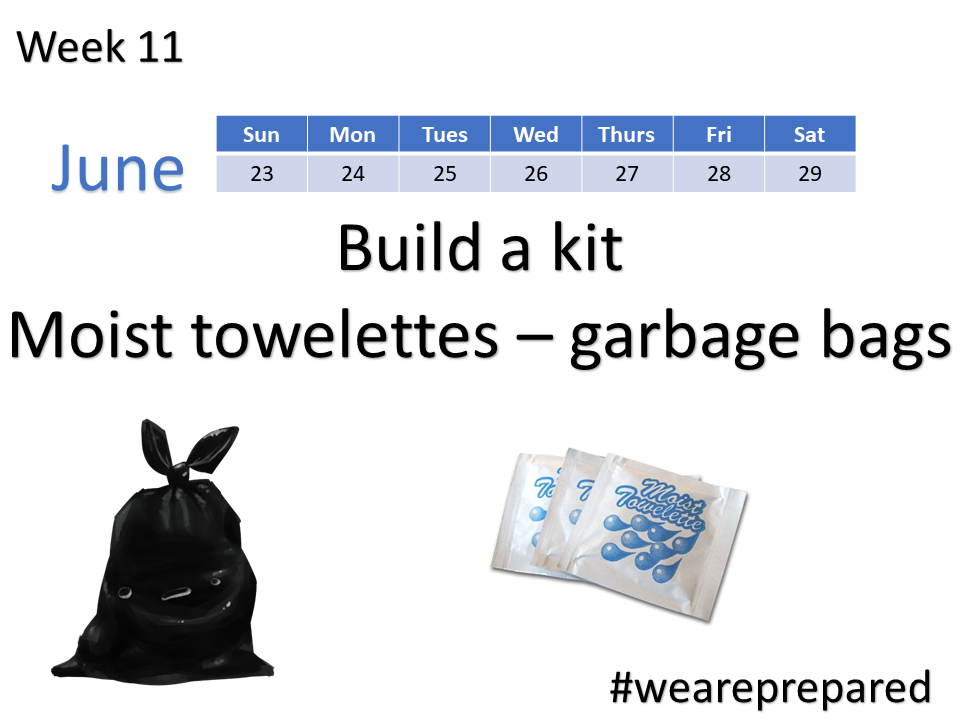
It’s looking like this week should be an easy add to our kit. We will be buying garbage bags and moist towelettes and will just pick them up during our weekly grocery shopping trip. The only other option I would consider would be to buy contractor garbage bags rather than the type sold at our grocery store. But for now, I’m thinking I’ll just get whatever they have at the grocery store.

Share

Build a Kit – Dust Mask – Week 10

Build a kit - dust mask

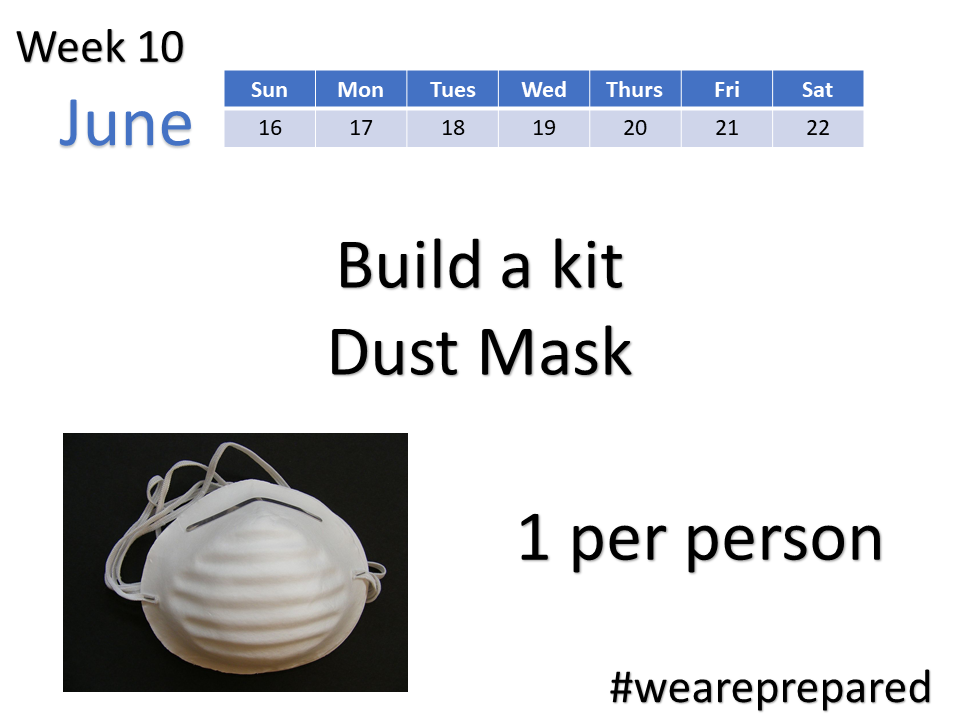
We will be adding a dust mask to our preparedness kit this week. Having worked on different types of home improvements over the years, I already knew there were several types of masks available. I’ve used one like the mask in the photo above when I was sanding drywall. But when I was pregnant and painting, I used a different type that was more of a respirator so I could get a better seal and filter out any harmful vapors.

For our kit, I could grab the respirator we already have. But that will only take care of one person, and we have eight of us. So I’m going to buy something simpler than the respirator we already have, but more protective than the mask like the one in the photo. In researching what to get, I found the CDC has a listing of NIOSH-Approved Particulate Filtering Facepiece Respirators .  These are categorized based on how much and what type of filtering is provided by each. The site also lists certified brands.

After reviewing the different types and seeing what is available to me locally, I am leaning towards buying the 3M N95 Model 8511. But I’m going to wait to make my final selection once I get to the store, because I need to buy the M/L size, and I’m not sure if they will have that model in that size. I also need to buy at least one small size because we have a child.


As a side note, throughout this series of posts about getting prepared, I may mention certain products, services, agencies, etc. At no time is it my intention to promote a specific product or service or agency. Each is mentioned only for informational purposes.  Of course as a government employee, I do receive a salary from the government for the time I work on my job, but I don’t receive any compensation from any commercial entities I mention or include in these posts.
Share