3D Printing for Civil Engineers

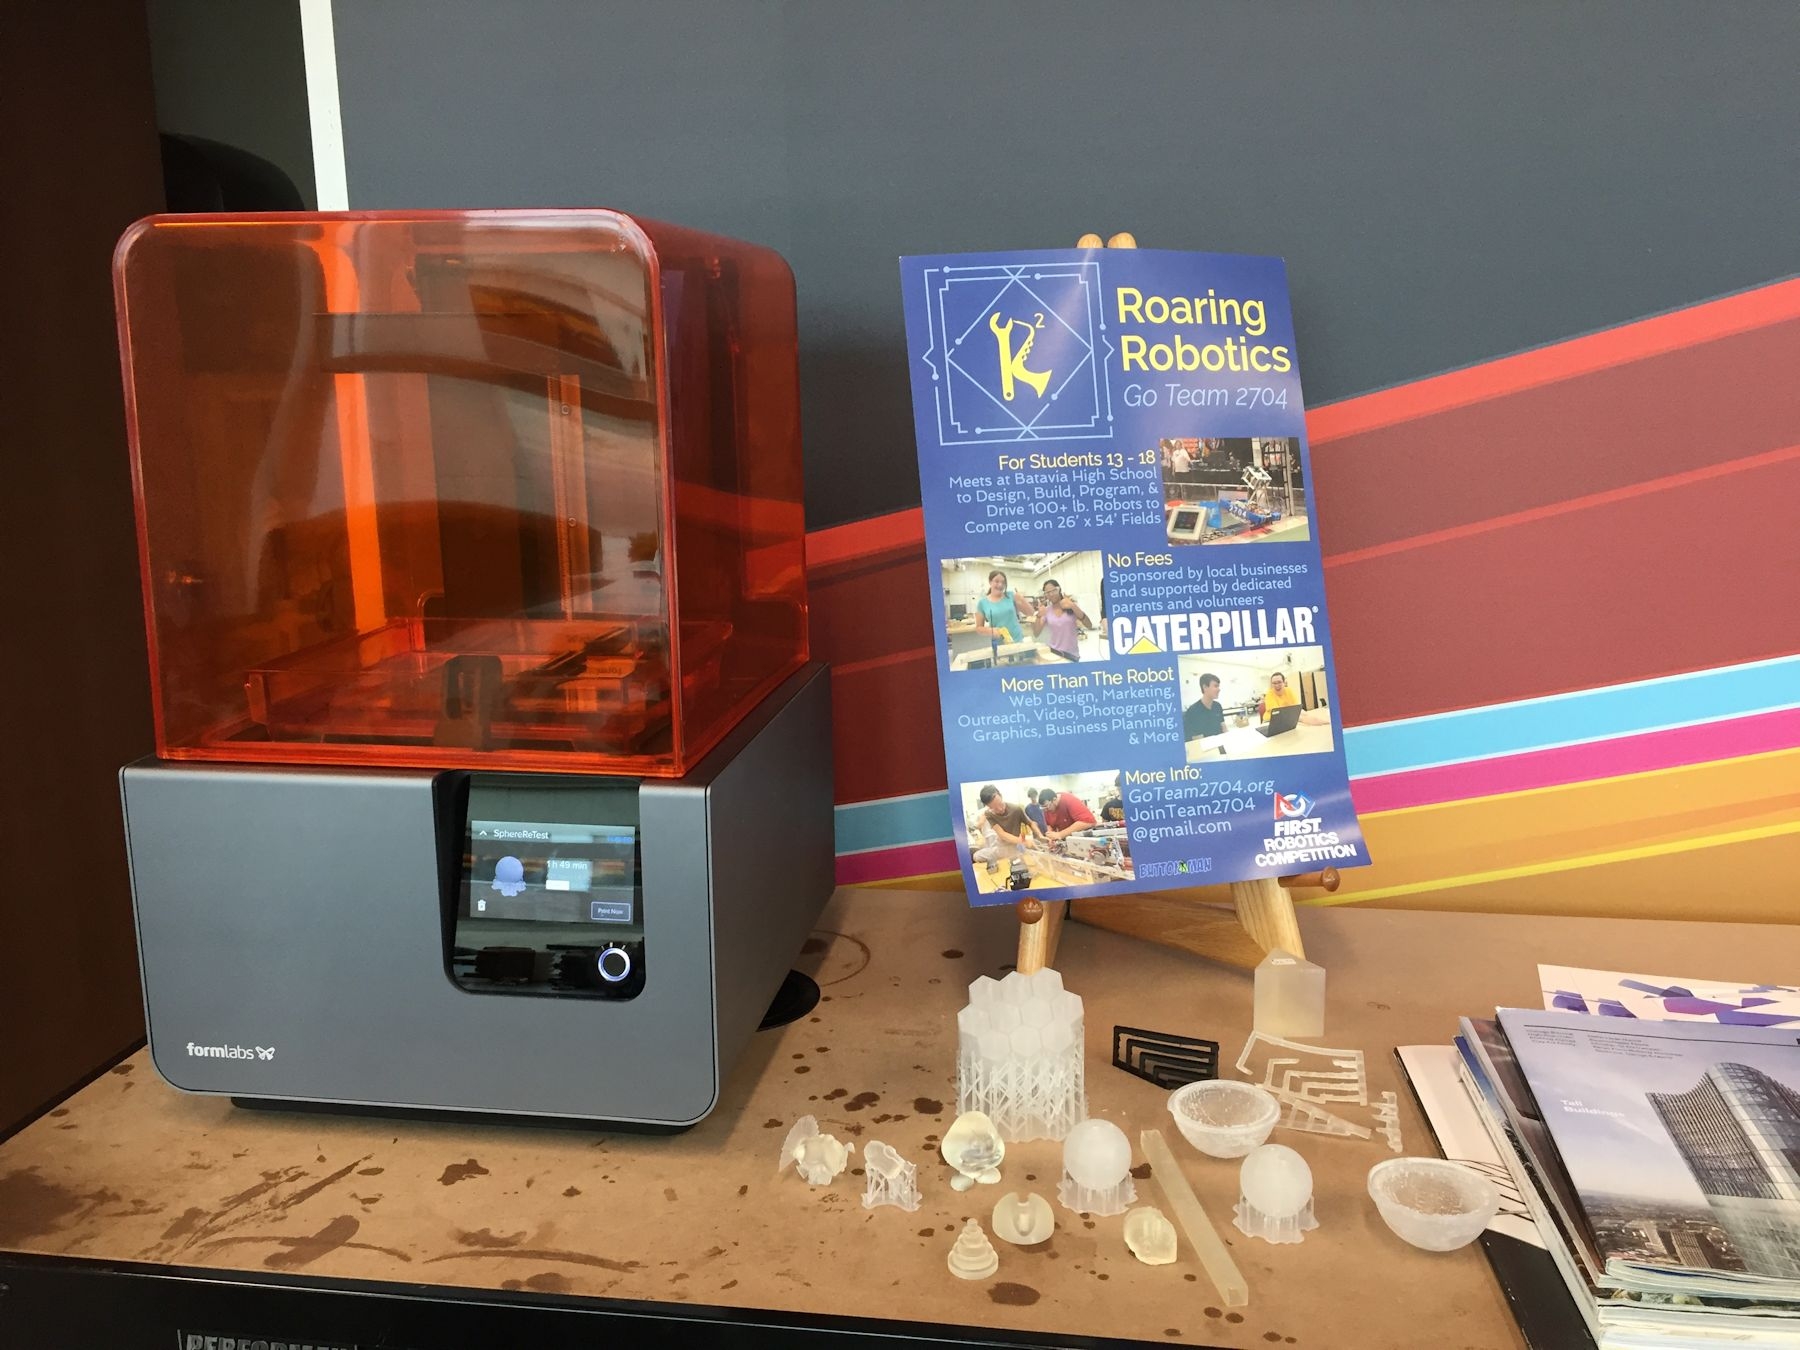
3D Printer

3D Printer
3D printer
Lately I've been thinking our field might be missing out by not exploring the opportunities offered by 3D printing. Even though 3D printers have been around for many years, I haven't seen anything significant related to its use by agencies or firms in our field. I remember a 3D printer in use in a classroom at the college where I used to teach and that was at least 13 years ago. But that printer was used by the mechanical drafting students – not those in the civil technology field. So my partner and I have embarked on the goal of learning more about 3D printing and how the technology can be used in the civil engineering field.

Fortunately we found a learning program hosted by the University of Illinois in Champaign-Urbana which also happens to be our alma mater. The program is offered through Coursera and is a series of 5 courses leading to a specialization certificate in 3D printing. We began the first course right at the start of 2017 and are almost finished with the second one. So far the content has provided a good introduction to 3D printing and offered ideas about how it has been and could be used in many different fields.

Near the end of the second course, we were introduced to Josh Ajima, a teacher in Northern Virginia. In his presentation, he described how he created 3D representations of the earth's topography to visualize how different areas of a watershed relate. A description of his work with fabricating the Chesapeake Bay Watershed can be found in his article, "Design Challenge: Chesapeake Bay Watershed." Civil engineers can see right away how 3D printing an area's topography can lead to better understanding of watersheds, flooding impacts, material transport, and other related concepts.

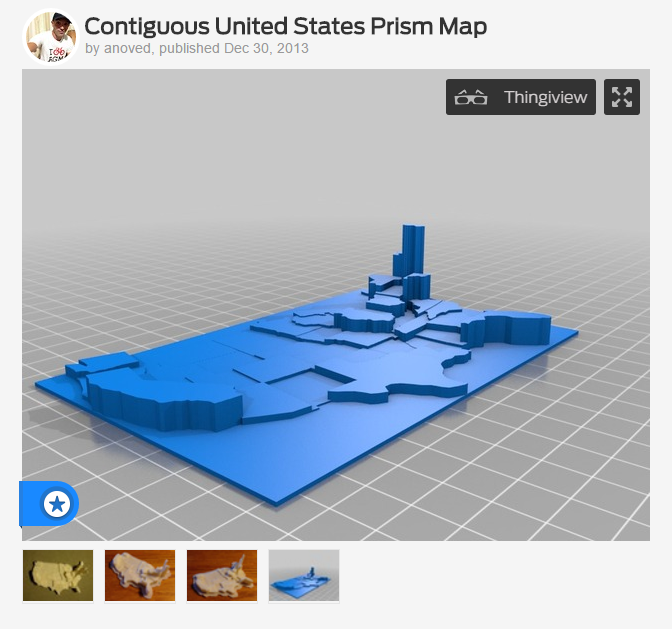
Then, in our effort to learn more about the local 3D printing community, we attended a workshop at the Maker Lab in the Harold Washington Library in Chicago. There we saw a printout of the topography of the bottom of Lake Michigan. We were also introduced to the idea of using 3D printing to display data. An example of this type of use can be found on a 3D printing site called Thingiverse where the user anoved has uploaded a model of the United States to be used to visualize data sets for the states. A screenshot of anoved's Thingiverse page with the map is shown below. We can imagine an agency using this model for public education to show the amount of transportation funding spent by each state or the number of highway fatalities or miles of roadway.

Thingaverse Example of US 3D printed map with data

I'll continue to share our experiences with 3D printing as we learn more about the technology and increase our understanding of how it might fit into civil engineering. In the meantime, if you are interested in learning more, I'd encourage you to check out the classes on Coursera – they are free to take if you are not interested in earning a certificate for the specialization. You can also visit Maker Labs in your own areas – they are usually found in most larger cities, particularly in libraries. Also, if you know of any uses of 3D printing in our industry, we'd love to hear about them – just drop us an email, comment below, or reach out to us on social media.

Share

Check us out over on the Cadalyst CAD Speed Blog!!

I was excited to be interviewed last month by Cadalyst and even more excited today to find the interview featured over on their CAD Speed blog. It was great to share what is going on in the industry particularly as it relates to CAD. We talked about the latest trends and offered information about the Public Works Group and our mission. Check out the interview here:

Expert Interview with Pam Broviak on CAD and Public Works Departments

Share

Using Augmented Reality to Visualize Engineering Designs

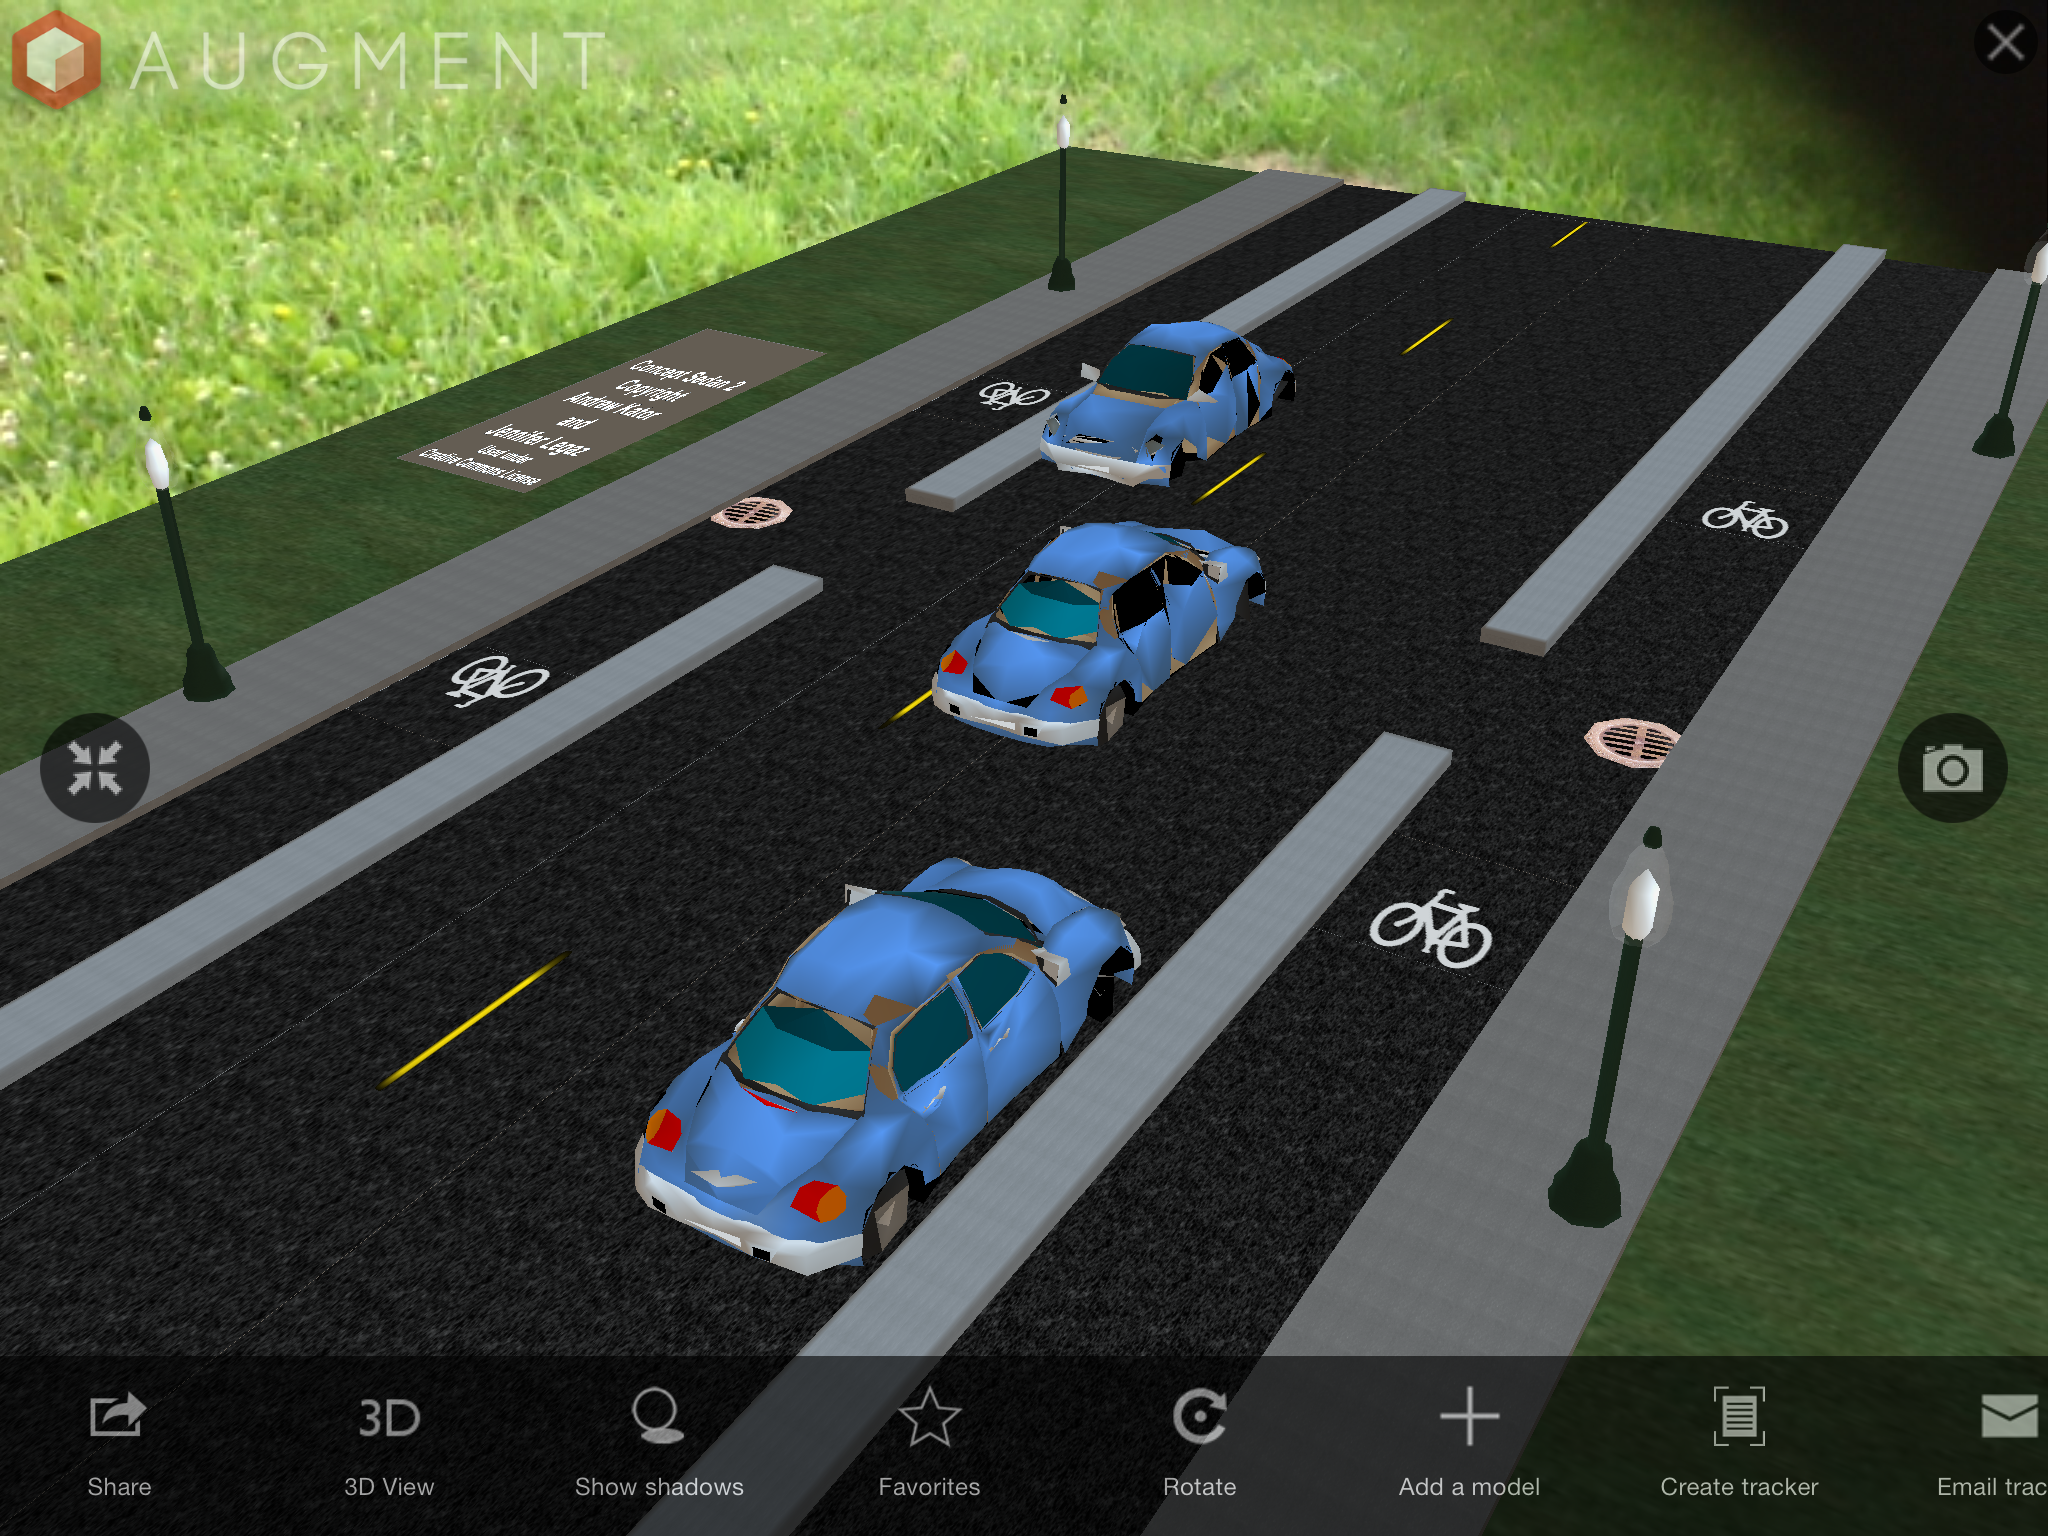
This week I experimented with using an augmented reality app at a public meeting to display this simple visualization of one of our projects.

3D model of a project using Augmented Reality

My experience was that it did seem to help with explaining or showing people not only an overall snapshot of how the roadway will look when finished, but it also helped show specific design and operational details that were difficult to describe. So I figured I'd post a quick explanation of the software I used to create the model and which app I used to host and display the visualization in case anyone else is interested in trying something similar out at their own meetings.

To begin, I would have liked to just export the project directly out of CAD and into the program where I assembled the 3D model because this allows for a more accurate representation and saves some steps. I've done this before using AutoCAD, and it was very straight forward and easy. Unfortunately we use Microstation at work instead of AutoCAD and so far I have been unable to find a way to get this to work with that software. The main problem seems to be that although it has 3D export capability, the program will not allow me to export something with a thickness so everything ends up flat. And it won't let me expand my export in the "Z" direction even if I import it into other 3D programs. I've spoken with a representative of the company, and as I've indicated in previous posts, he said Microstation is not interested in supporting this because they don't see a need for engineers to use this type of feature – as he put it "we're engineers, not gamers." So because of this, I had to create the 3D objects in other programs and use a PDF of the plan view as a guide in placing the objects. Also because of this and my time constraints I only modeled a portion of the project where there were no complex shapes.

So the program I used to create and assemble the 3D objects is Opensimulator. It's a free, open source program that runs as a web service and allows you to create and texture 3D objects then export them as models. You can set up Opensimulator on your own desktop by using something like SimonaStick or you can run it by installing it on your computer and connecting it to a service that allows you to access the interface with the use of a viewer. I used the second option and connected it to a service called OSGrid then used the Singularity viewer to log in and build. The main difference between building with this method and one that would use a more traditional 3D program like Blender is that building in Opensimulator is much more intuitive because you create using an avatar or 3D representation of yourself. Opensimulator has also greatly simplified the creation and texturing of objects.

Here is an "aerial view" of what my "build" looked like inside OSGrid right before I exported it as a 3D model.

As a side note, what is nice about building in Opensimulator is that you can use your avatar to walk through the project and get a feel for how it will function. If we were also building a streetscape, the use of an avatar helps assist in placement of elements. And from what I understand, if I had an Oculus Rift device, I could have put it on and immersed myself in the design as if I was actually there. This is something I hope to also eventually try as a design tool once I get a chance to buy one of those devices.

The only elements in the photo above that I could not create in Opensimulator were the cars and curbed medians. As you can see from the attribution note in the photo, the cars were 3D models I downloaded from the Kator Legaz website then uploaded into Opensimulator using Singularity. And I also uploaded a median that I created in Blender because I wanted the top to be curved like a regular curb is – Opensimulator does not allow for the creation of something like this so I had to use Blender then import the 3D model into Opensimulator. For all the graphics or textures applied to the models, I created them using a graphic software package then uploaded them into Opensimulator. There are many graphics programs that I use, but if you are looking for a good, free program, you can always use Gimp.

Once everything was assembled, I used the export 3D model feature in Singularity to create a Collada file of my build. Then I used my account on Augment to upload the model so I could access it and view it using the Augment app on my iPhone and iPad. Having the model available at the meeting made it convenient to show people what it will look like when built. For example, when I was having trouble explaining how the inlets impact the bike lane, I was able to just use this model to show someone how the inlets effectively reduce the bike lane from 7.5 feet in width to 5 feet if people do not want to ride over the inlet. Overall I would say having the model did enhance the ability to share our project with the community, and I hope to be able to build upon this experience to create more complex and detailed models in the future. If you want to check out the model yourself, you can access it here:

3D Model of Protected Bike Lane

Share

WATERCON2014

This year I am fortunate to again have the opportunity to attend WATERCON in Springfield, Ill.It's amazing how every year the conference offers so many great sessions, and the exhibitors always have such interesting displays and information. In addition to attending sessions and talking with vendors, I'll be posting as much as I can on several social media sites so that all of you can follow as much of the conference as possible. Because most of these sites are already listed in a blog post over at the Watercon blog site, I won't list them again here. Instead I encourage you to visit over there. And if you're attending too, I'll be looking for your own posts and photos from the event!

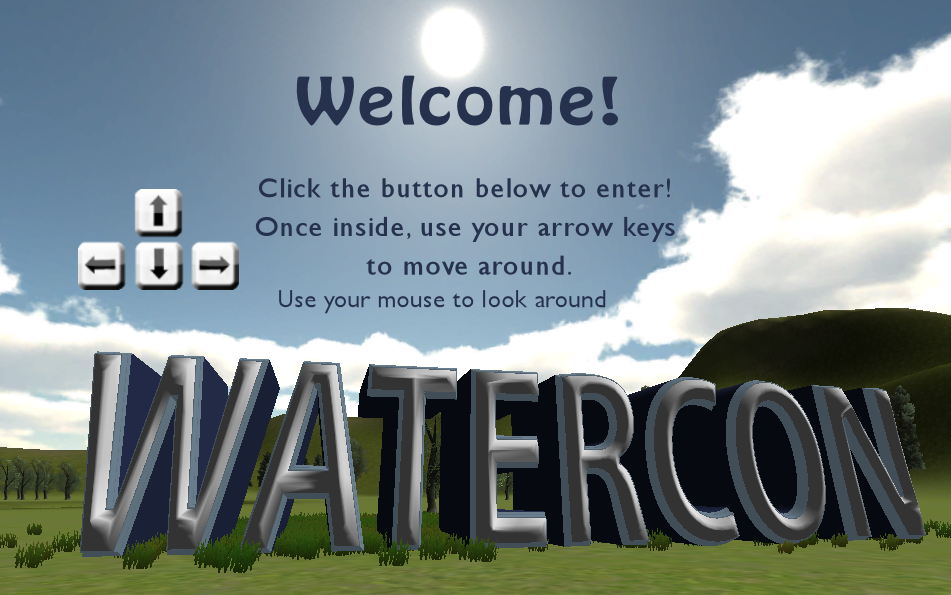
One added treat is a virtual expo we set up to try out that technology. Here's an image of the entry screen – you can find the link to visit the expo over on the Watercon site.

Watercon Virtual Expo Image 

Share

Free 3D Software for Civil Engineers

If you regularly read this blog, you already know we strongly believe 3D visualizations and environments will play a big role in the future of civil engineering. Over the last several years we've seen an increasing use of 3D products to help people better plan and build large-scale developments and structures. Last year, FHWA incorporated 3D into their Every Day Counts initiative, and recently President Obama announced the launch of two new digital manufacturing hubs. It's interesting to note the President's weekly address this week covered those launches along with a push for innovative infrastructure – one day, in our industry, both topics will most likely be closely aligned. But like any change or new innovation, there are naysayers and those who resist the transition, and there is little we can do to change their mind. Like the old draftsman clinging to his ink pen and Leroy set, they will be left behind. Instead of worrying about convincing them, we wanted to reach out to all of you who are looking forward to the future yet might not know where to start or to those of you who might be wondering how to pick up some 3D skills without having to spend a lot of money. Below we've listed several programs available for free or at a low cost. They are grouped by complexity of the software.

Introduction to 3D

Autodesk 123D – an Autodesk suite of free 3D software:

While Autodesk's flagship products like AutoCAD and 3ds Max might have a price tag out of reach for most of us, the company fortunately offers several free products you can use to build your 3D skills. You can even use most of these programs to create a 3D print of your creation! Here's a list of each program you can try out:

123D Catch – a computer, web-based, or mobile-based program allowing you to transform a photo into a 3D object

123D Design – a computer, web-based, or mobile-based program allowing you to create 3D designs

123D Creature – a mobile-based app allowing you to easily create a 3D creature

123D Sculpt – a mobile-based app allowing you to easily sculpt 3D models

123D Meshmixer – a computer-based program allowing you to develop 3D models

Tinkercad – a web-based program allowing you to create 3D models (this is free for personal use at this time, but may in the future transition to a low-cost subscription based program).


SketchUp – SketchUp Make is the free version of the popular 3D modeling program now owned by Trimble.  
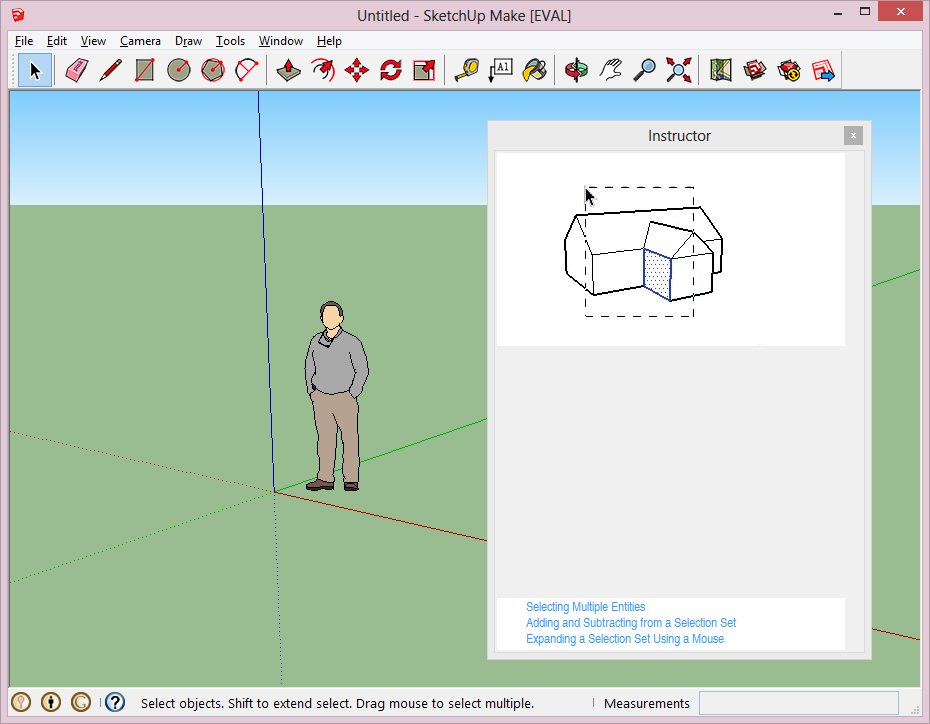
Sketchup Interface


3D Tin – this free, web-based program allows you to easily create 3D models. You can save and export them and even send them to a 3D printing site. The key thing to keep in mind before using this site is that it requires a specific type of browser. I was able to use the most recent version of Firefox to access it. Below is the screenshot of a few 3D letters I easily created with the object-based tools. 
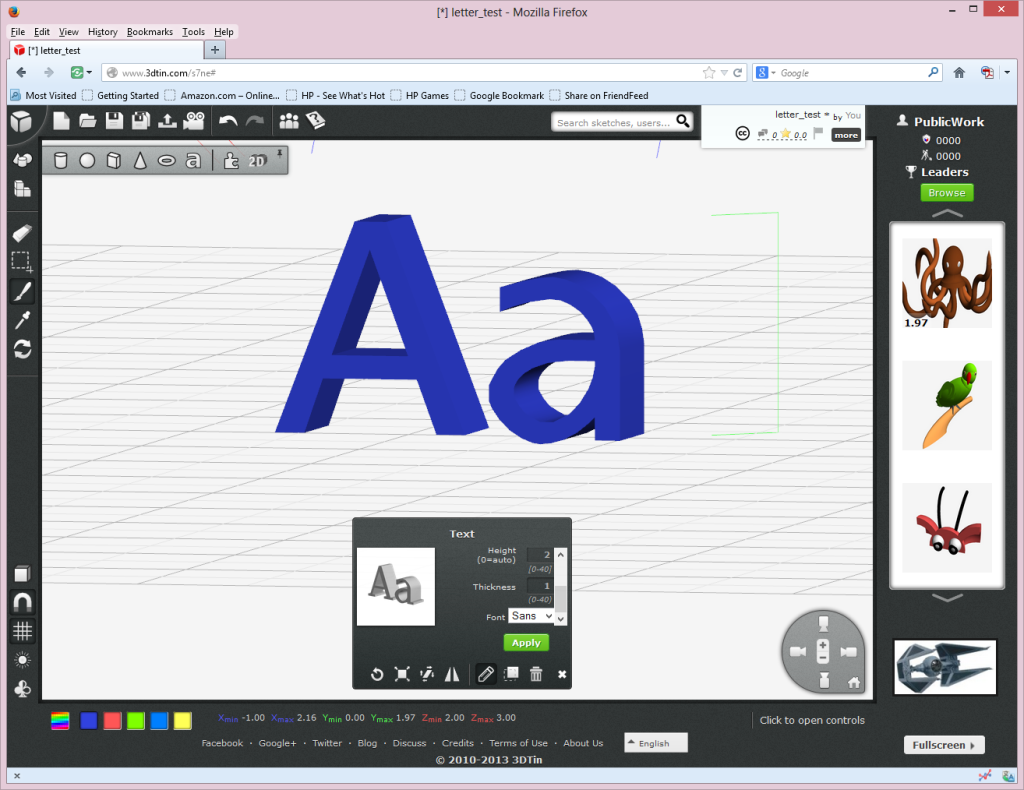
 

3D Tin Interface


MakeHuman – this is a free, computer-based program that allows you to create human 3D models. 

tree[d] – this is a free, computer-based program that allows you to easily create 3D models of trees. Below is a screenshot of the interface.

tree[d] interface


Intermediate Level 3D

The following programs will most likely require a little more effort to learn than those in the introductory category. Fortunately you can usually find your way around the software by making use of the tutorials and community forums available for each program:

Seamless 3D – this is a free, computer-based program that allows you to create 3D models. Below is a screenshot of the interface.
Seamless3D Screenshot


Sculptris – a free computer-based program allowing you to create 3D organic looking models


AC3D – a low-cost, computer-based program that allows you to create 3D models. At this time, the cost for one license is $89.95. Below is a screenshot of the interface.
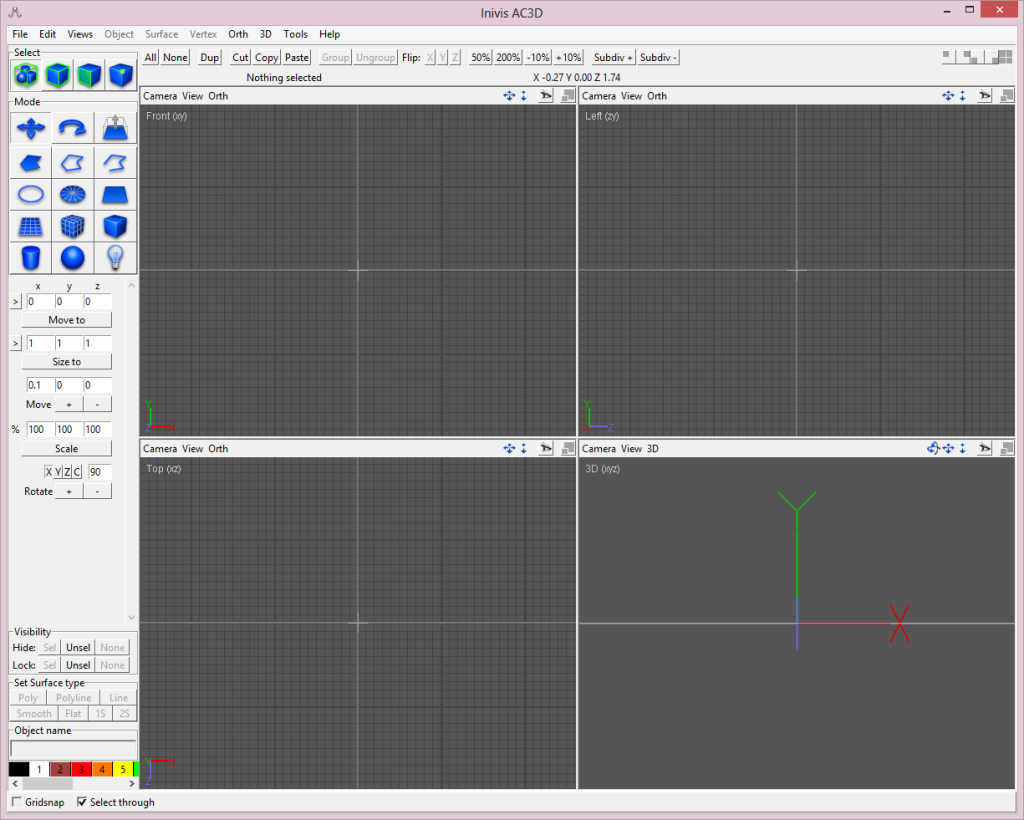
AC3D Interface


Wings3D – this is a free, computer-based program that allows you to create 3D models. Below is a screenshot of the interface showing a model I uploaded of a creature I made using the 123D Creature software on my iPad.
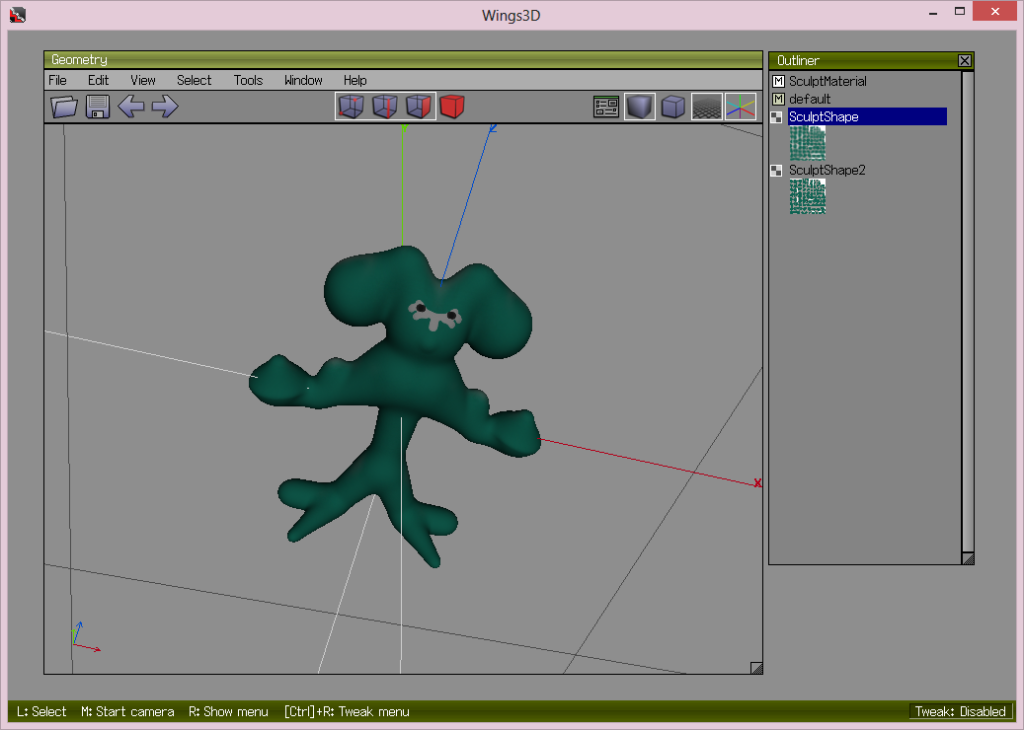
Rendering in Wings3D of a creature model

RaySupreme 3D – this is a low-cost, computer-based program that allows you to create 3D models. At this time, the cost of the software is $39.99. Below is a screenshot of the interface showing a rounded cube.
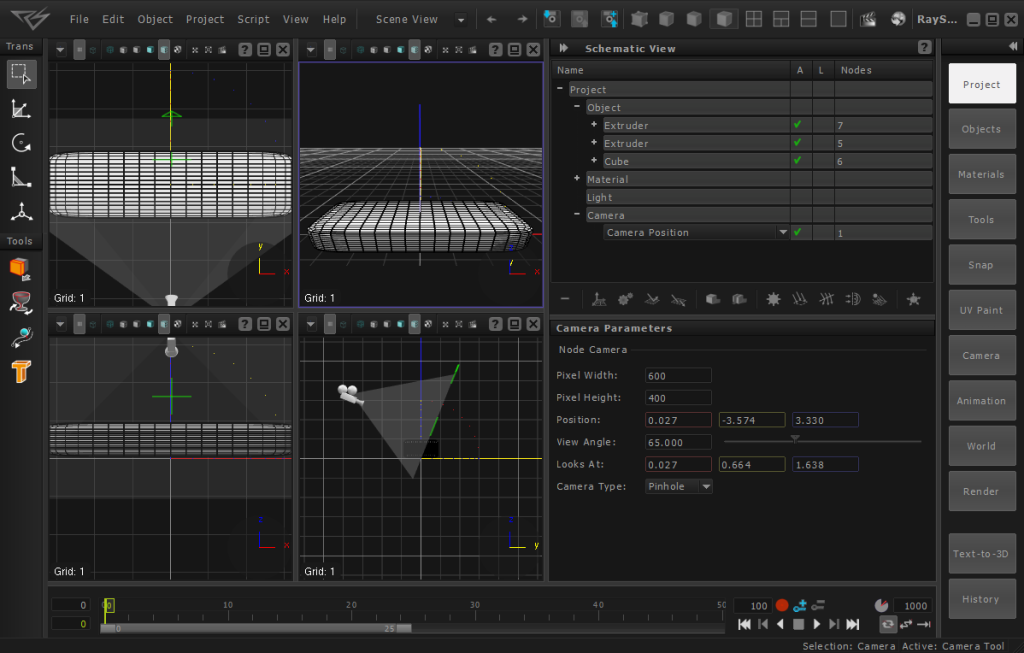
Ray Supreme 3D Interface


Clara.io – Thanks to Mimetic Core for bringing this site to my attention after I posted this article. The site is in beta, but is very functional and easy to use. I am listing it as intermediate since it appears to offer more advanced 3D features than those included in the Introductory section. This is a free, browser-based program that allows you to create 3D models after you register on the site. There are also several pre-made models available for you to load and edit to get used to the software. You can see the ladybug model in the screenshot below.  

Clara.io Interface

Second Life / OpenSim – I'm including these free, computer-based programs even though many in the industry would not probably think of these as 3D modeling packages. This is probably because while both programs have always allowed people to create 3D models, until last year, whatever people created could not be exported for use in other programs. Fortunately within the last several months, a third-party developed the ability to export models created in these environments. So now, people can use the building tools in Second Life or Open Sim environments to easily create a 3D model and then export it. And even though the building of the model is relatively easy, I put the program in the intermediate category because the interface is much different than any of the other programs listed here and might take some time to get used to. This is because instead of just installing a software package and using the commands like a regular program, people build in Second Life/Open Sim by entering the software through an avatar or digital representation of themselves. I included a screenshot of the interface below showing my avatar building a basic cube in Second Life.
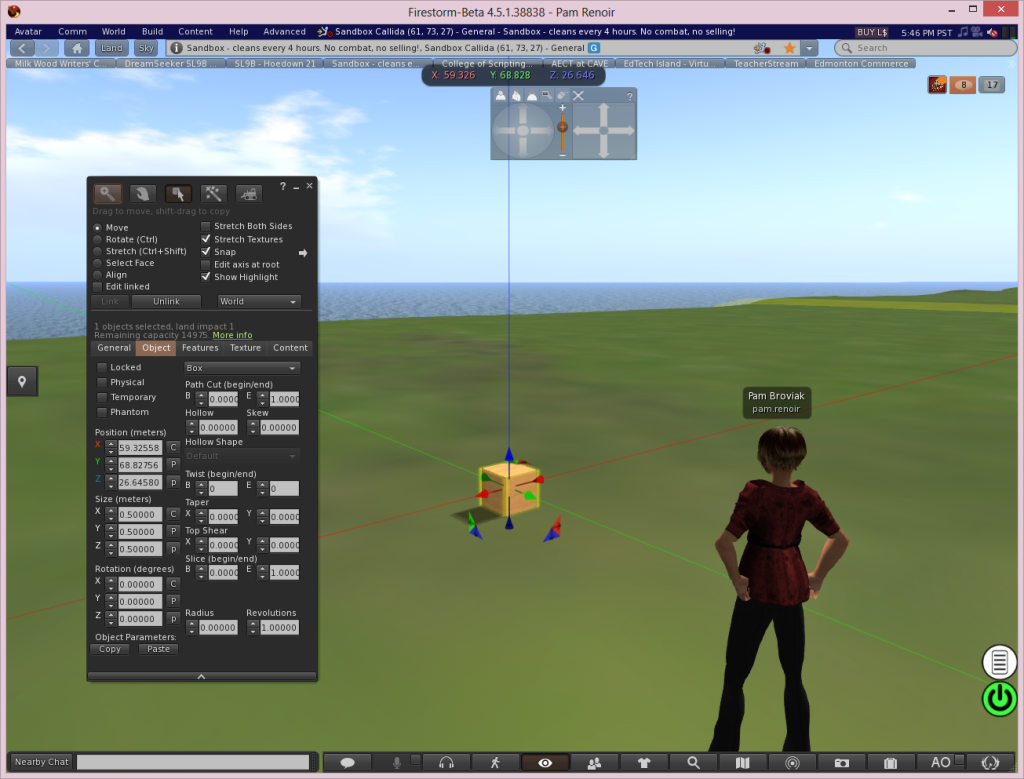
 

Second Life 3D Modeling Interface


Advanced Level 3D Modeling

The programs below are more involved than those listed above. Usually they have more advanced features and the interface is more complicated to navigate. While it will take some time to learn these programs, there are many tutorials and resources available online to help teach you what you need to know to use them.

Blender – this is a free, computer-based program that allows you to create 3D models. Blender is a very advanced tool with complex features including the ability to animate objects and create scenes, video games, and movies. Because of this, it does take some time to learn this program. Fortunately there are many resources and tutorials available.

Blender Interface


DAZ 3D Suite of Products

In addition to their higher cost 3D program, Carrara (which is still fairly low-cost at $149.95 and $285.00 for the pro version), DAZ 3D offers several free and low-cost programs. Occasionally they have also allowed a free download of their products for limited times throughout the year. While you might have to devote more time to learning how to use these programs, there are many sites out there offering videos and tutorials to help you learn. 

Hexagon – this free, computer-based program allows you to create 3D models. Below is a screenshot of the interface showing a basic 3D object.
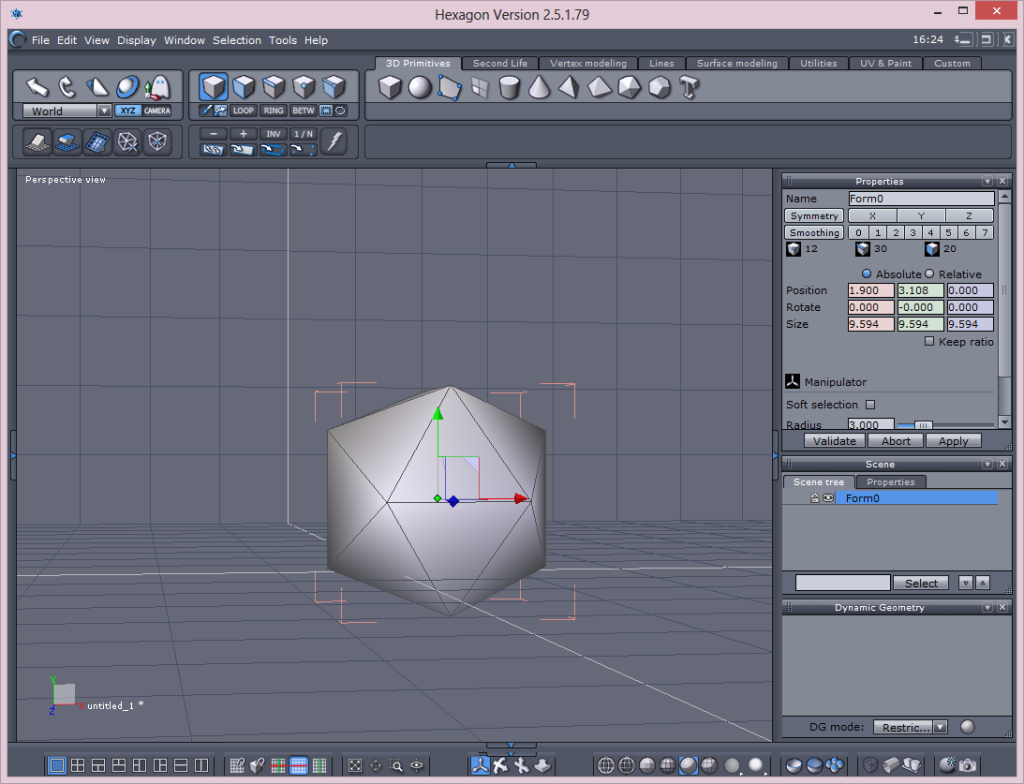


Hexagon Interface

DAZ Studio – this is a free, computer-based program that allows you to create 3D models, scenes, and artwork along with animations and poses. While I've posted this in the advanced section so it could be grouped with the other Daz products, DAZ Studio is actually very easy to use. Below is a screenshot of the interface. My main use of it at this time is to create poses for 3D models of people.
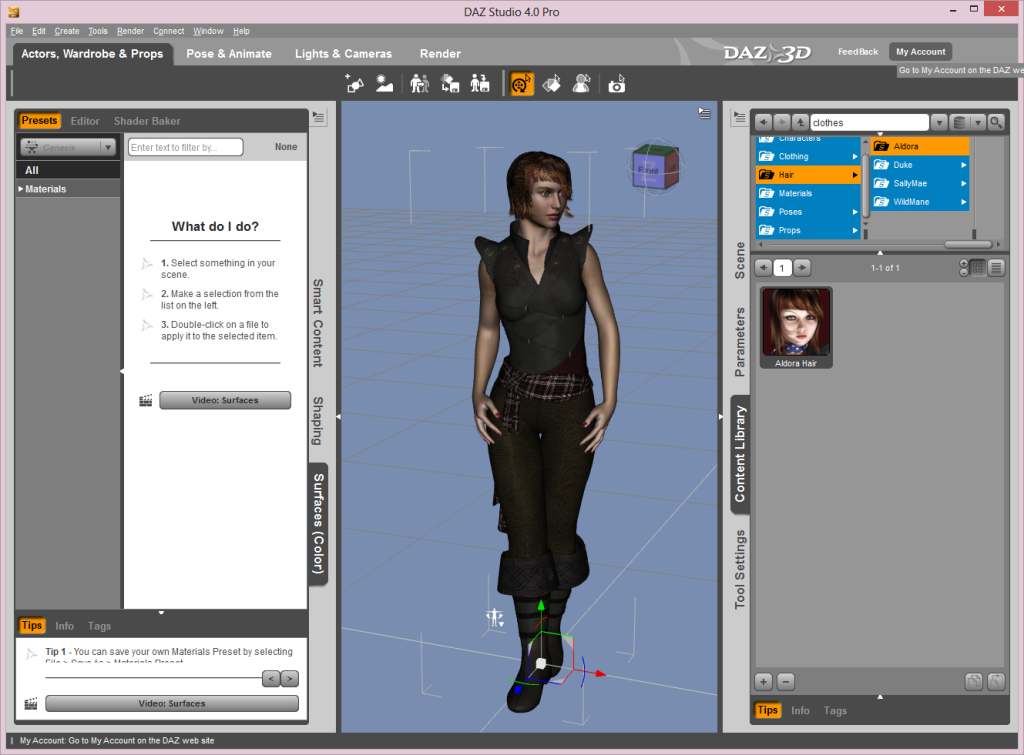


DAZ Studio Interface

Bryce – this is a low-cost (at the time of the post it was selling for $19.95) computer-based program that allows you to create 3D environments


Unity3D – this is a free, computer-based program that can be used to create 3D models. However, most people seem to be using this program to develop 3D environments into which they place 3D models made in other programs. Unity3D is a full-featured, advanced software package that takes some time to learn. Like the other programs listed in this post, there are many sites available online where you can find tutorials and other educational resources to help teach you how to use it. There is also a higher cost pro version of the program available, but most people can get by using the free version – particularly if you are just trying to become familiar with 3D modeling. Below is a screenshot of the interface of the free version showing a scene I created by following a tutorial.
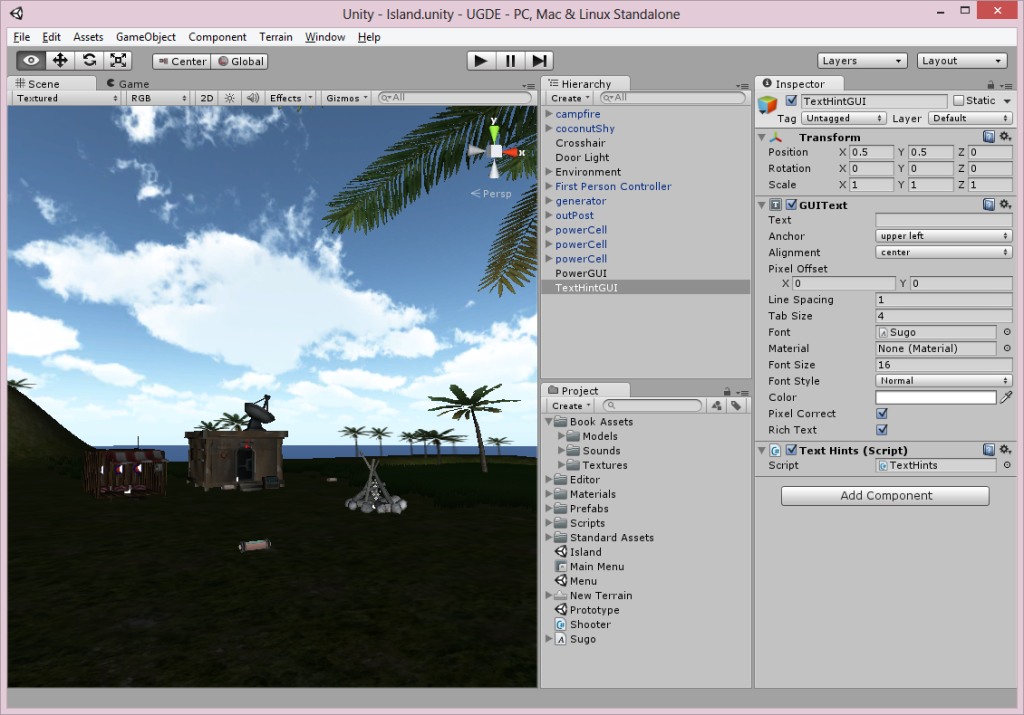
Unity3D Interface


(Post updated March 2, 2014 to add Clara.io site)
Share

Resources for Developing your 3D Engineering Skills


Roadway Design Visualization - Natchez Trace Parkway, MS


If you've been paying any attention to the Every Day Counts website, you might have noticed that 3D Engineered Models are now being promoted by the Every Day Counts program. This is because of the potential for this type of technology to cost effectively accelerate construction. However, in addition to this, 3D engineered models offer many other benefits including the ability to better plan and visualize designs and enhance public outreach. If you or your agency or firm have not yet integrated 3D models into your process and are interested in learning more about this technology, you can check out the growing number of resources posted on the FHWA 3D Engineered Models Website at http://www.fhwa.dot.gov/construction/3d/.

Their site offers links to examples of how 3D models have been used in projects along with links to manuals and other guidance of how to integrate and develop 3D models in your own projects. At the end of last year, FHWA also started a year-long webinar training series. Below is a listing of the topics they are offering. You can view past webinars or sign up for future ones at the link given above.

Future Webinars

Applications of 3D Models in the Construction Office February 19, 2014 1:00 p.m. – 2:30 p.m. Eastern
Applications of 3D Models on the Construction Site April 2, 2014 1:00 p.m. – 2:30 p.m. Eastern
Managing and Sharing 3D Models for Construction May 7, 2014 1:00 p.m. – 2:30 p.m. Eastern
Overcoming Impediments to Using 3D Engineered Models for Construction September 10, 2014 1:00 p.m. – 2:30 p.m. Eastern
Steps to Requiring 3D Engineered Models for Construction October 15, 2014 1:00 p.m. – 2:30 p.m. Eastern
The Future: Adding Time, Cost and Other Information to 3D Models November 19, 2014 1:00 p.m. – 2:30 p.m. Eastern

 Past Webinars

Overview of 3D Engineered Models for Construction November 20, 2013 1:00 p.m. – 2:30 p.m. Eastern
Creating 3D Engineered Models January 8, 2014 1:00 p.m. – 2:30 p.m. Eastern


Source of Photo used in post: Roadway Design Visualization – Natchez Trace Parkway, MS, http://www.efl.fhwa.dot.gov/technology/Road-VS/Natchez-Trace-Parkway/natchez-trace-parkway.aspx

Share